How to Grow Weed Indoors: An Ultimate Guide 2019
Price: $ 24.99
4.5(590)
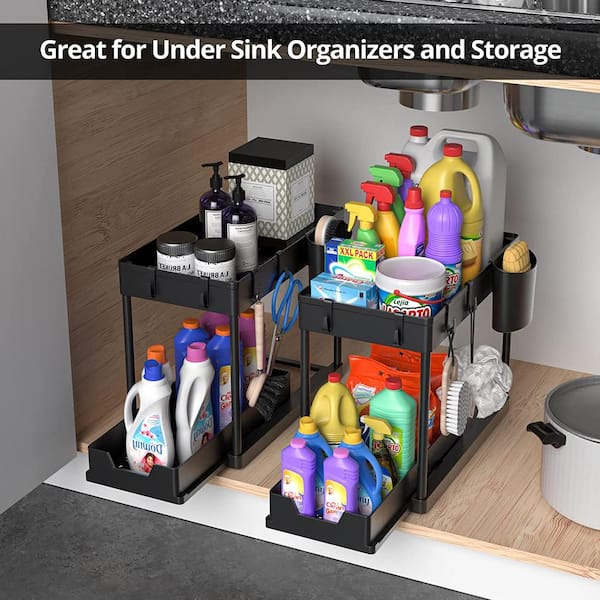
The best supplies for growing weed indoors, including the grow tent, the light, the thermometer, the hygrometer, the fan, the soil, the watering can, the ph meter, the fertilizer, the trimming scissors, the storage jars, and the moisture meter..
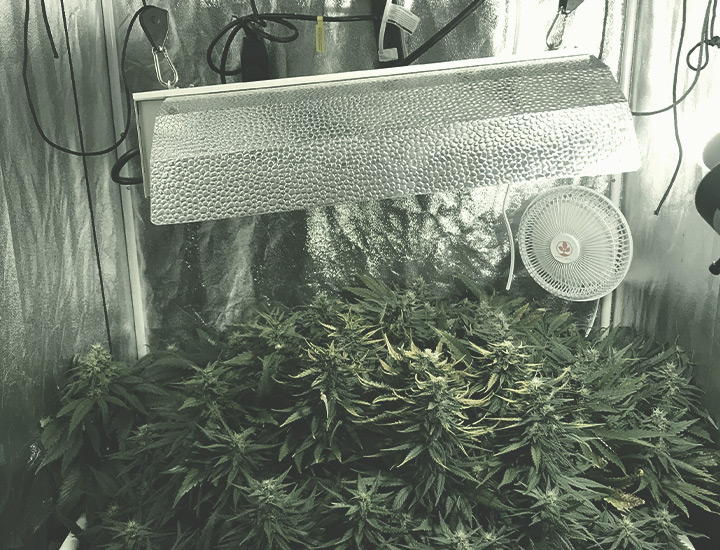
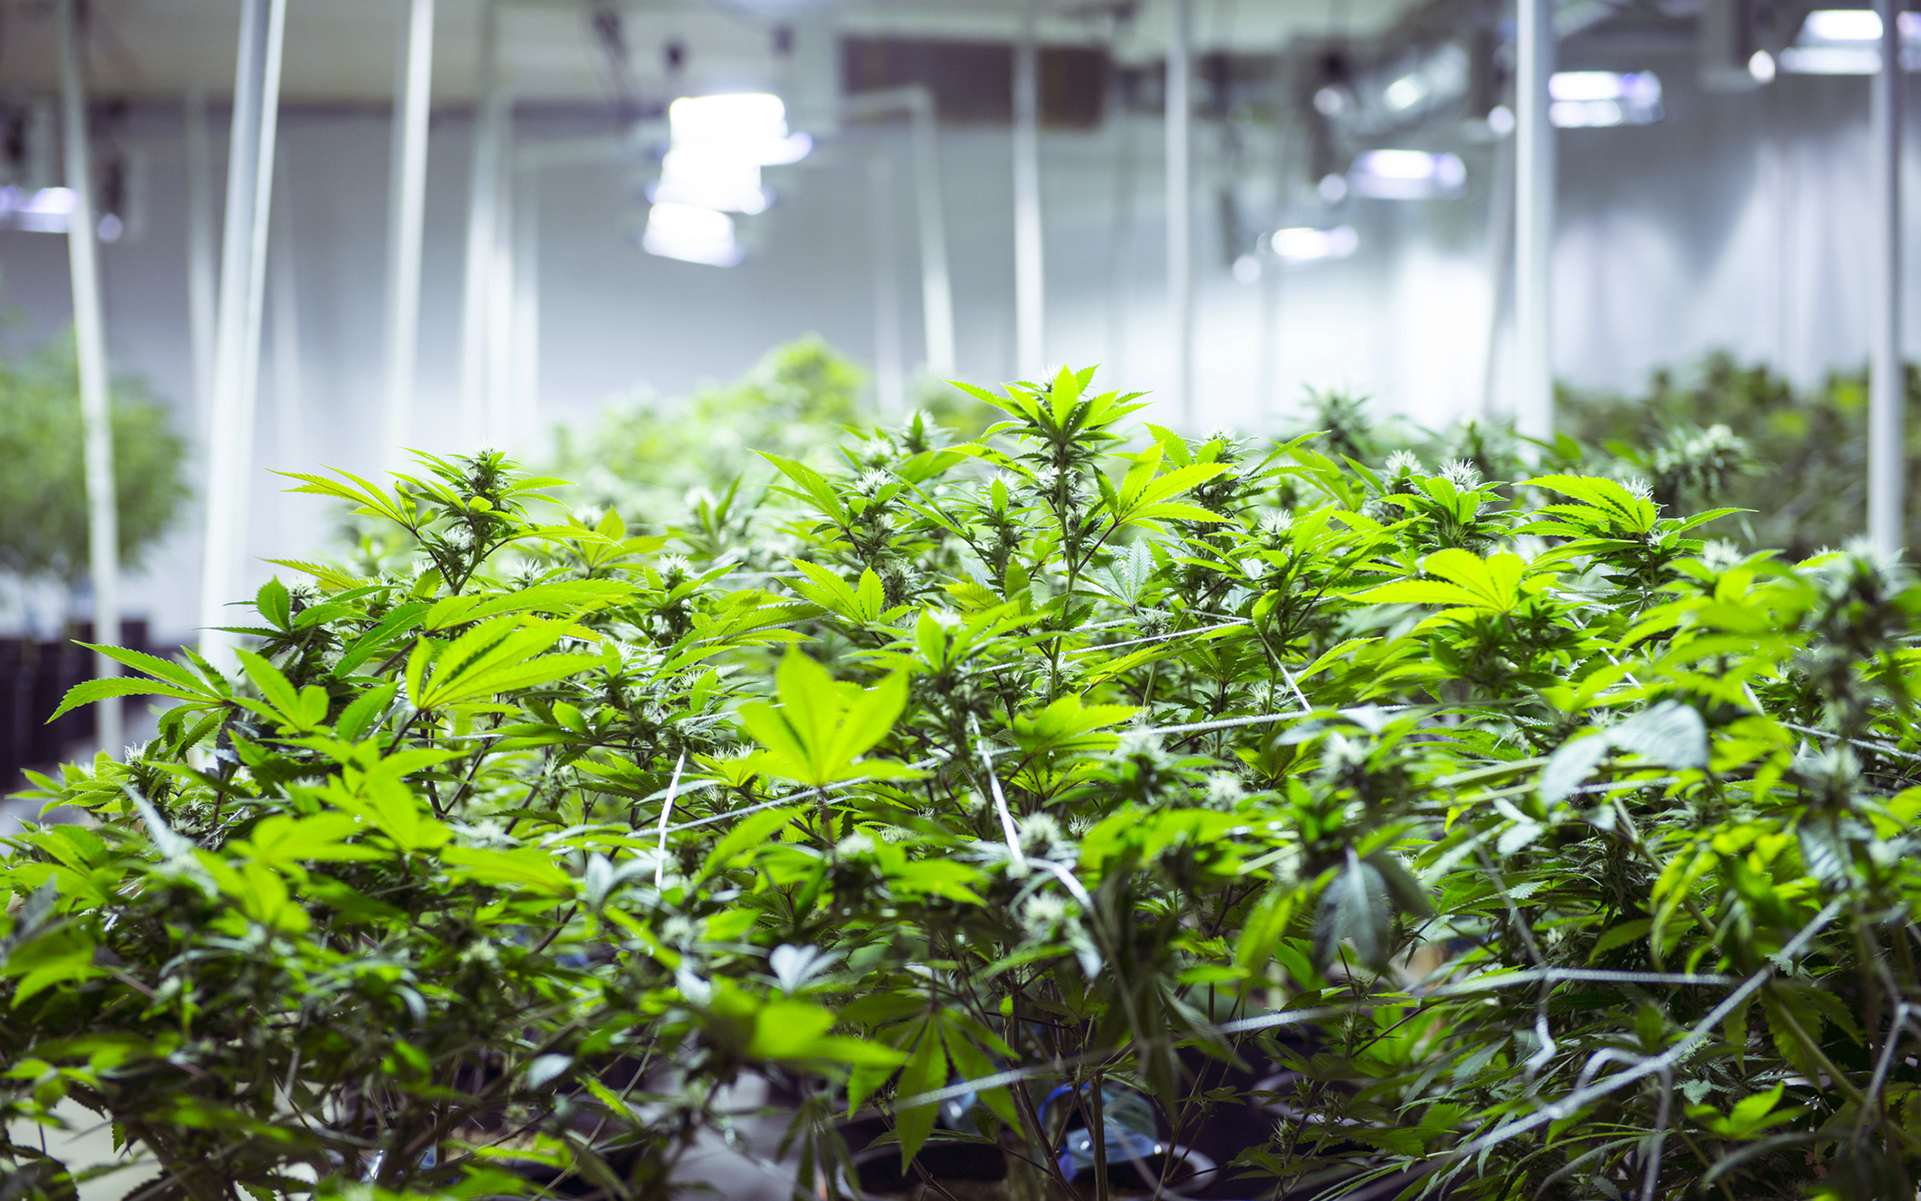
Both Pettit and Loki swear by Horticultural Growth System’s lights (they’re what Pettit uses in his custom cabinets). This 100-watt LED model is a great “plug and play” option for novice growers, according to Pettit, who recommends getting the light with a 3,000k Kelvin rating because the spectrum is suitable for both vegetative and flowering growth. It comes with cables to attach it to the roof of your tent, where it should be snug against the top so it does not get too close to the plant as it grows.
.
To better control your grow, our experts recommend plugging the light into a timer, so you can easily set it to shine for the needed hours each day.
.
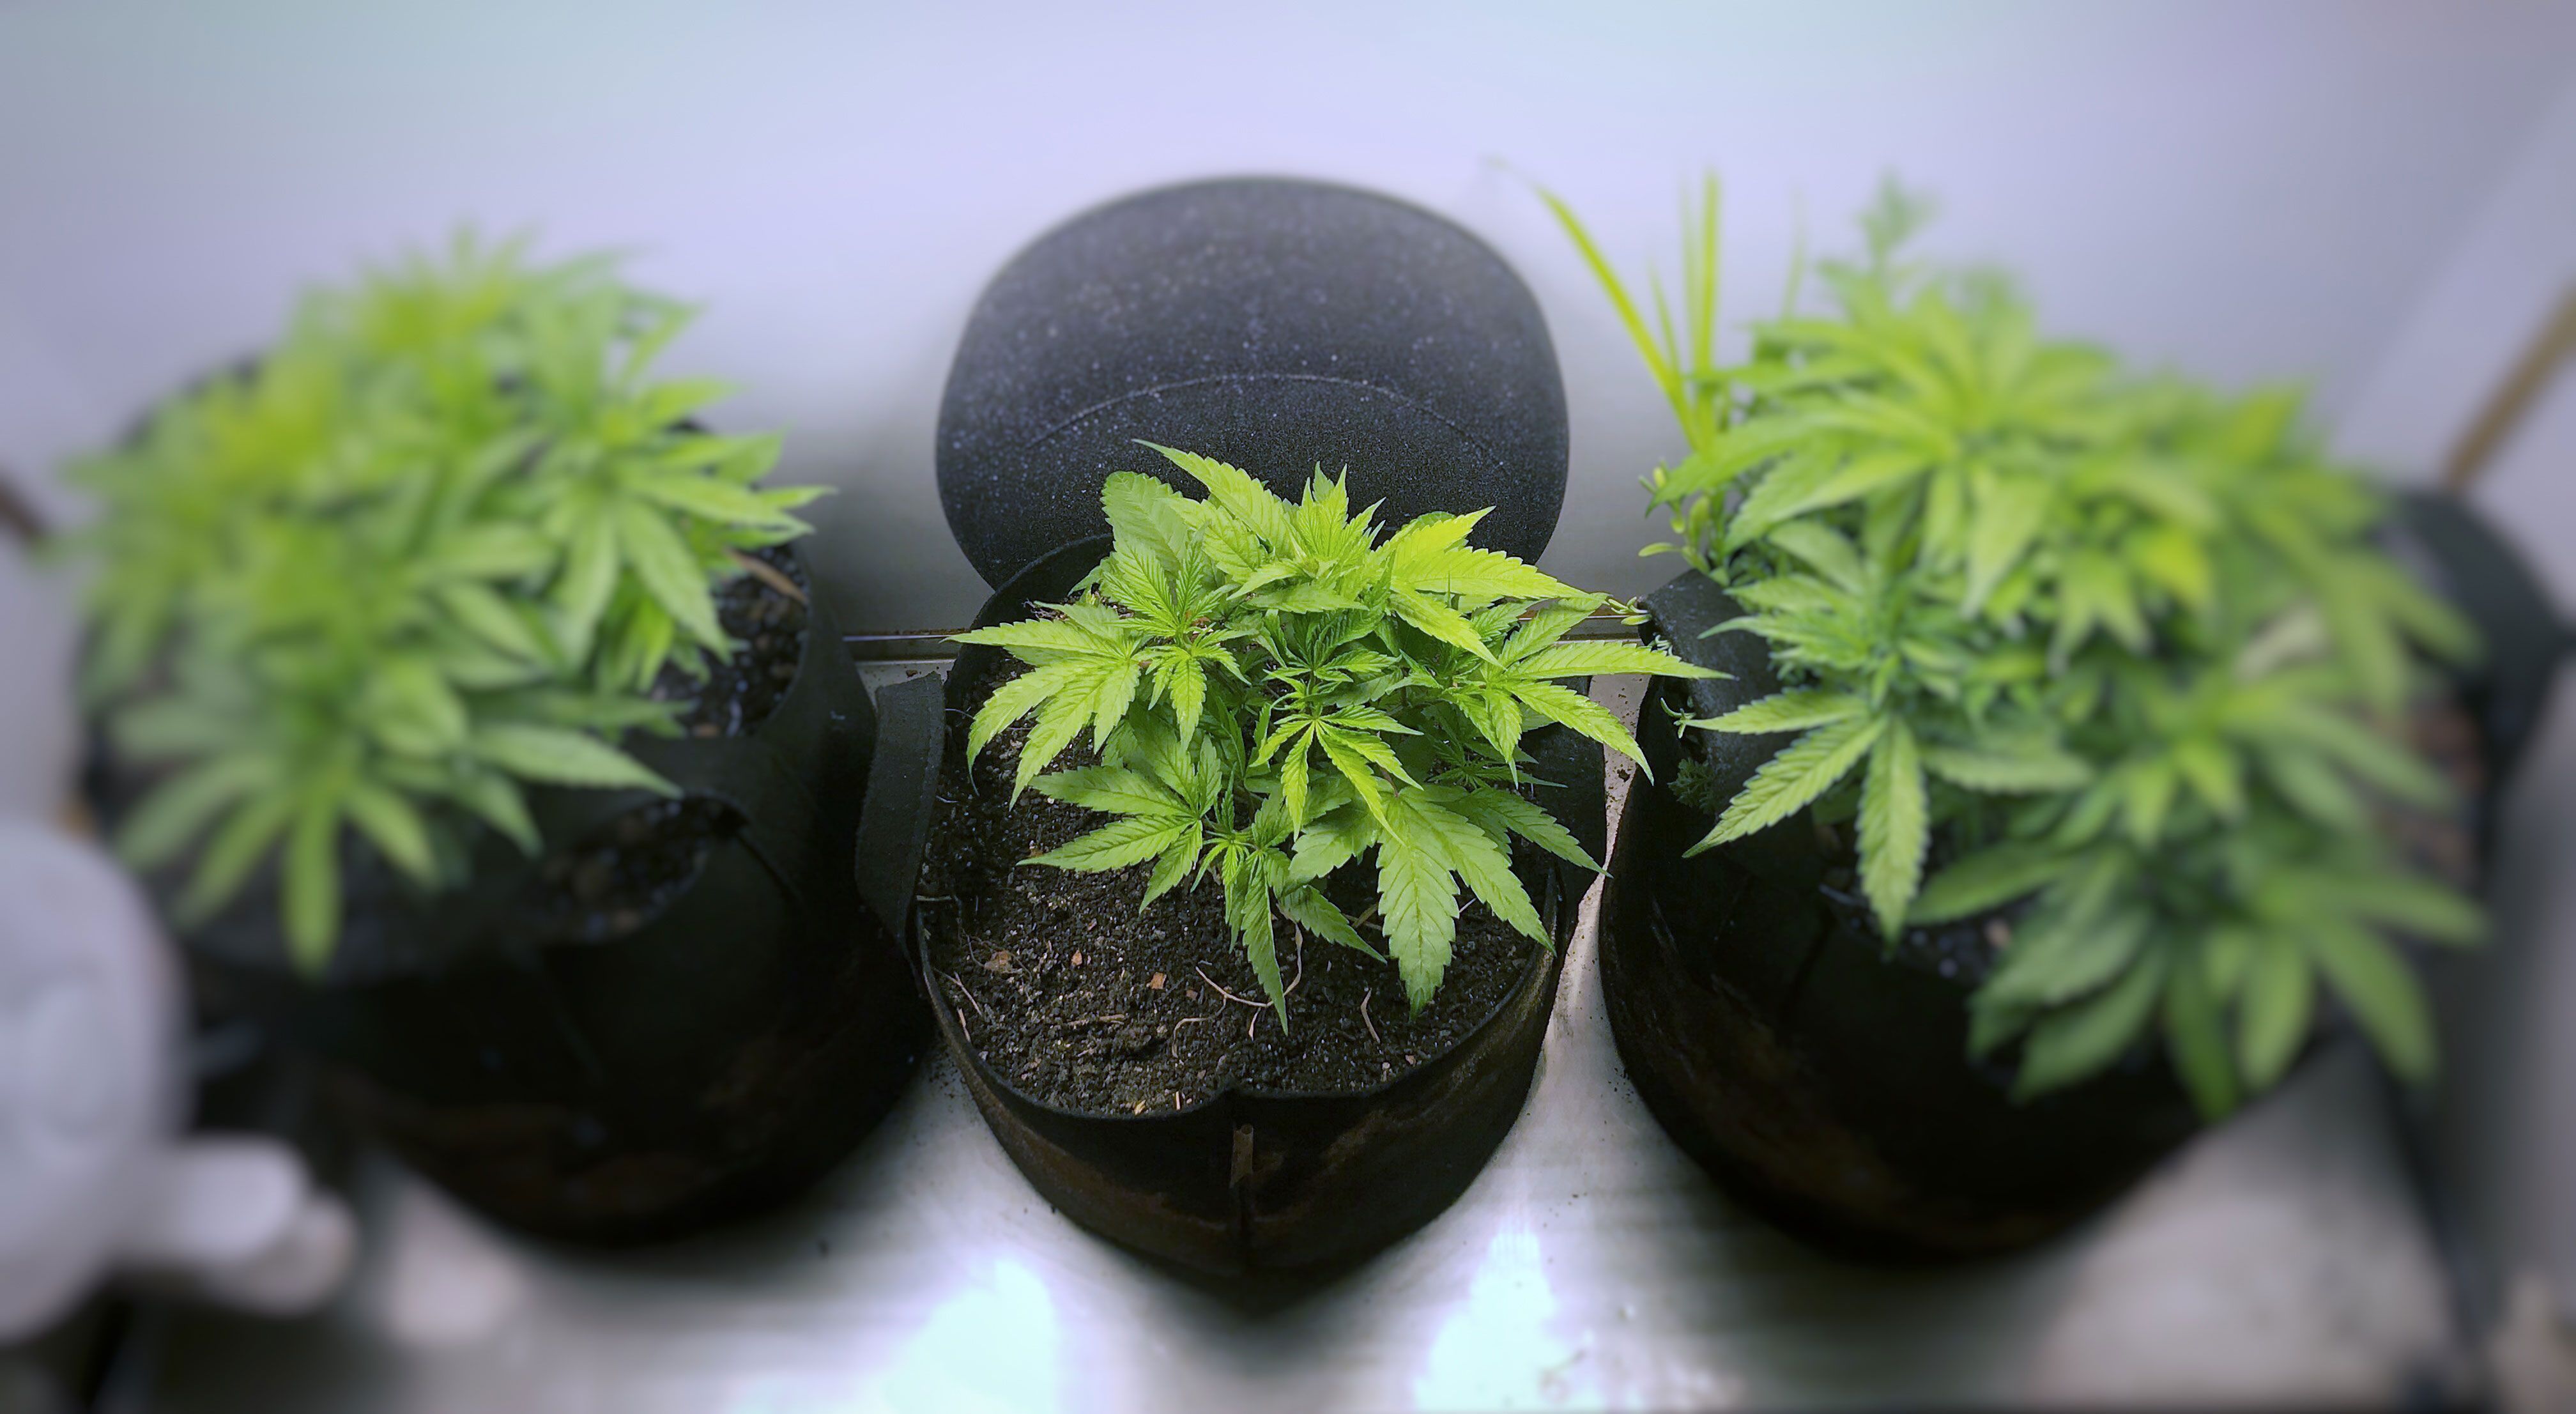
All three of our experts recommended that hobby growers use fabric pots for growing cannabis, because their cloth exteriors allow air to pass in and out, which helps the plant from becoming root bound. “The plant will only take nutrients through the tip of its root,” explains Pettit, who says the air that flows through the pot’s fabric will cause roots to naturally split, creating more tips to suck up nutrients. The downside to fabric pots is that they can be hard to reuse, Loki says (which is why it might make sense to get a five-pack like this, in case your first grow doesn’t go as planned). But before you put your seed in the pot, start sprouting it in a shot glass half full of water, according to Loki, who said a little tail will appear between 12 and 24 hours. At that point, you can put the seed in a damp paper towel (and put that inside a ziplock bag) for 24 to 72 hours — you’ll know when it’s ready to be potted when it looks like a little bean sprout. If you’re using auto-flowering seeds, you should plant the bean-sprout-looking thing directly into the three-gallon pot (our experts say auto-flowering plants should live their entire life cycle in the same pot). But if you’re using traditional seeds, you can plant the bean-sprout-looking thing into a smaller four-inch pot, let it grow for between two and three weeks, and transplant it into a three-gallon pot when the plant is about a foot tall.
.
Place a saucer beneath your pot to catch excess water. The excess can be helpful for determining nutrient levels in your soil, and for gauging when to stop watering, according to our experts.
.
“The bottom of a fabric pot always stays a little bit wet,” according to Pettit, who along with Loki suggests placing the pot on a riser like this inside the tent to help keep it dry, and prevent it from sitting in stagnant water, which both men say can harm the plant.
.
Coco is a growing medium made of coconut fiber — it offers more aeration than traditional soil, and allows water to pass through easier, too. “Over the past 30 years it has become the medium many people prefer to grow in,” according to Pettit. He and Loki both suggest it as a more user-friendly medium than soil, which is denser and can lead to overwatering plants — a common pitfall among budding cannabis growers. That said, you should never let coco get completely dry. “You want 40 percent dry before watering again,” Loki says.
.
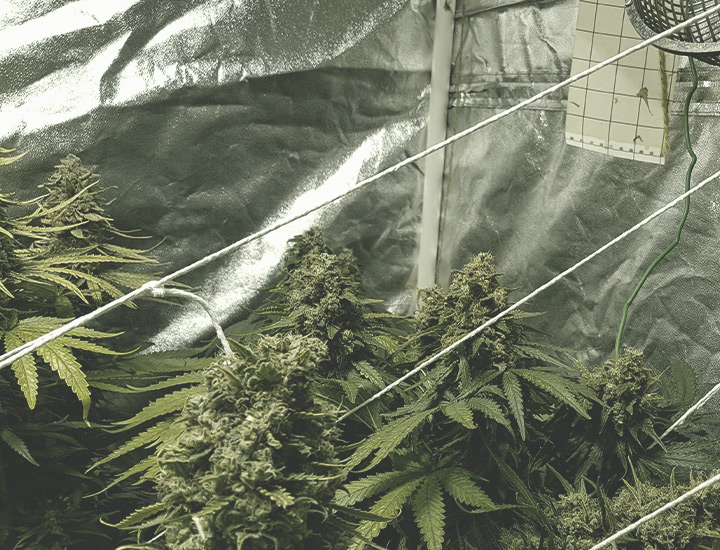
Sullivan recommends having some bamboo stakes and twist ties at the ready to support your plant’s branches “when flowers start to swell and grow juicy buds.”
.
“Overwatering is the first way to ruin a crop,” says Sullivan. He recommends looking at the plant’s leaves as a way to determine when it might be thirsty — if they look like they’re drooping, it likely is. There is no exact science to watering, but Sullivan suggests “between a half-liter and liter of water per gallon of coco every five to seven days.” Alternatively, you know you’re giving enough water when about 10 to 15 percent of what you’re pouring on a plant runs off into the saucer. Sullivan and Pettit both recommend using a one-gallon can with a long spout — which can reach all parts of the plant, and allows you to pour slowly, because watering too fast can compact your growing medium.
.
Cannabis plants intake nutrients at very defined pH levels — specifically, between 5.8 and 6. Unless you’re growing in a city like New York (where water straight from the faucet generally has the right pH levels), you’ll likely need these products to get your water supply’s pH just right (a few drops of one or the other will often do the trick).
.
Coco is naturally nutrient free, so if you’re growing with it, you’ll want to use salt-based nutrients that will dilute in water to help feed the plant. There are different lines of nutrients on the market, but Pettit suggests this two-piece set from Canna (the brand of coco he likes to grow in), which includes formulas to use during vegetative and flowering stages. You’ll want to start feeding a plant nutrients as soon as its true leaves — the fanlike ones marijuana plants are known for — start to form, according to Loki. He suggests using only 75 percent of any given fertilizer’s recommended dosage (Pettit says you could as little as 50 percent). “If you start low, you can always increase, but if you start high, you’ll just always need to use more,” Loki explains. Nutrients’ packaging will generally tell you how often to supply them, and when to stop — which, if you’re growing in coco, should usually be about two weeks before the end of your flowering stage, according to Loki. “That’s when the plant produces sweet wonderful smells, and you want to make sure you’re giving it only water.” Once you stop feeding the plant nutrients, you want to flush it with a higher volume of water to help end its grow cycle. “In the first of the last two weeks, if I have a three gallon pot, I’ll run two gallons of water through on Monday, Wednesday, and Friday, if the medium dries enough in between. In the second week, I’ll maybe run a gallon every three days,” Loki says.
.
Use a pH meter to test the pH level of your water, and a TDS meter to test the nutrient levels in your plant when you are flushing it with water during the last two weeks of its grow cycle. “When you grow with coco, excess water starts coming out at zero parts-per million, but then you add your nutrients, and your water may come out at 750 parts-per million. When you want to end your flowering, you want that excess water to go back to zero parts-per million,” says Loki. “When the numbers are back at zero, the plant is ready to die.”
.
Another indicator that your plant is ready for harvesting is when its trichomes (the tiny little bulbous portions of the bud that produce THC) turn from an opaque white color to a brownish amber. Using a jeweler’s loupe will allow you to see them up close, according to Pettit. “When more than 50 percent are that amber color, you’re ready to cut it down.” At that point, Loki and Sullivan suggest plucking off the majority of its fan leaves by hand (about 70 percent), then waiting two days before continuing the harvesting process.
.
When it comes time to harvest, Loki recommends cutting a plant down whole, and uses a PVC pipe cutter to get the job done. “Cutting the plant whole helps during the drying phase,” he says. Sullivan agrees, noting to cut as close to the bottom of the stalk as possible. If you cannot cut the plant down whole, Loki suggests cutting it up into branches (keeping each as intact as possible). Once the plant is cut, it must initially dry for 10 days to two weeks in a dark, non-lit space that’s approximately 56 degrees with a humidity level of around 60. If you’re drying it inside its grow tent, remove the fabric pot and lights, keep the fan inside and running, and hang it from the top (“It’s better to hang because it changes shape when it lays,” Loki explains). Sullivan suggests checking on it daily during the drying phase to ensure the temperature stays cool and the cut plant isn’t blowing in the fan’s breeze. You’ll know the plant is properly dry when you bend it and sharp creases form in the top of the main stalk or bigger branches. “They will crack a little bit, but not fully break in half,” Sullivan says.
.
Sullivan recommends purchasing 12-packs of four- and eight-ounce Mason jars as vessels for buds after you trim them (you should fill any jar you’re using about 75 percent, he says). A four-ounce jar will hold roughly an eighth of an ounce of dried cannabis (or about three and a half grams); an eight-ounce jar will hold roughly a quarter (about seven grams). Once your jars are filled, you’ll begin a secondary drying phase, during which you should open them and move the buds around once a day in order to allow the bottom layer to dry as much as the top. Keep the jars in the same place you initially dried your plant during its secondary dry.
.
A secondary dry can last between five and ten days, according to Sullivan, who recommends novice growers use a moisture meter to help them determine when their buds are ready for long-term storage. “The two-pronged tool sends electrical current through the bud, which will move faster if it is more moist.” Once buds show a moisture level between 9 and 12 percent, they’re ready to be stored long term in a temperature-controlled space. “The best place would be the vegetable drawer in your fridge,” according to Loki.
.
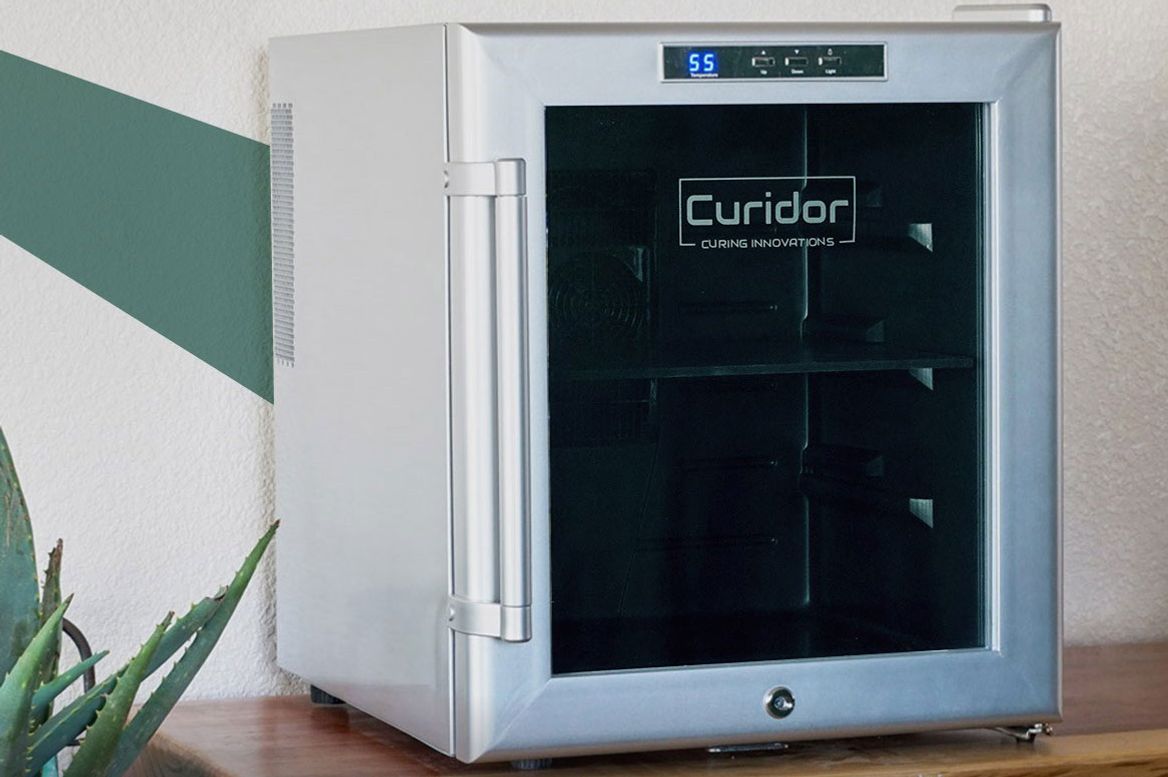
If your growing hobby becomes a serious pursuit, Pettit and Loki suggest investing in a Curidor, which Sullivan, its creator, describes as a humidor for cannabis. “It’s 99.9-percent UV-protected, temperature and humidity controlled, comes with a lock and key, and we’ve been able to show it keeps products for more than a year without any detectable loss in terpenes,” which are the essential oils that give each strain its unique aroma, and can enhance highs.

How to Grow Marijuana : 3 Books in 1 - the Complete Beginner's Guide for Growing Top-Quality Weed Indoors and Outdoors by Tom Whistler (2019, Trade Paperback) for sale online
A Complete Overview Of Growing Cannabis Indoors - RQS Blog
A Beginner's Basics Guide about 🌿 How to Grow Hemp 🍃
How to Grow Marijuana Indoors

Cannabis roots: A complete guide- Alchimia Grow Shop
A Complete Overview Of Growing Cannabis Indoors - RQS Blog
How to Grow Weed Indoors: An Ultimate Guide 2019

How Long Does It Take to Grow Weed Indoors? [3 to 5 months]
How to Grow Weed Indoors: An Ultimate Guide 2019